Add a New Virtual Machine in VirtualBox
Follow these steps to add a new virtual machine in VirtualBox to host Ubuntu.
Note: The steps in this section are not enough to get a working Ubuntu installation. To do this, complete the steps below and then complete the steps to install Ubuntu inside the virtual machine.
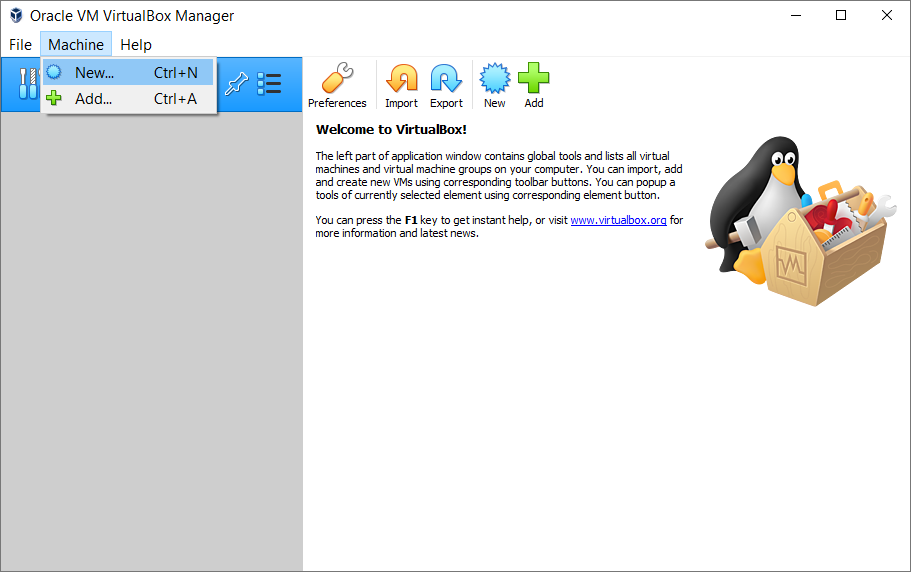
Step 1. Open VirtualBox and find the “New” button in the main window. Alternatively, you can click “Machine > New…” in the top menu.
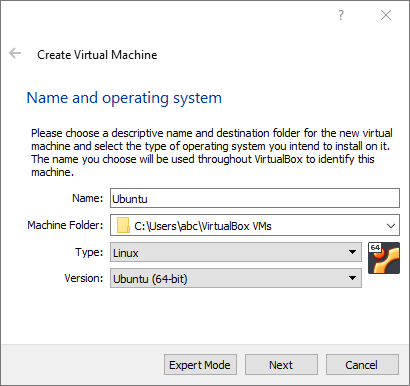
Step 2. In the dialog window that appears, you need to note or interact with four fields:
- Enter the name for your new virtual machine in the “Name” field. VirtualBox will try to detect what operating system you are planning to use and match the “Type” and “Version” fields based on your input
- Take note of or change the location of the “Machine Folder” field. This is the folder on your computer where the system files of your virtual machine will be saved
- Make sure that the “Type” field has “Linux” selected
- Make sure that the “Version” field has “Ubuntu (64-bit)” selected.
Step 3. On the “Memory Size” screen, make sure that you allocate at least 1024 MB for your virtual machine. More is better, so see if you can safely increase the value to around 2048 MB or slightly more, but do not set the slider outside the green zone.
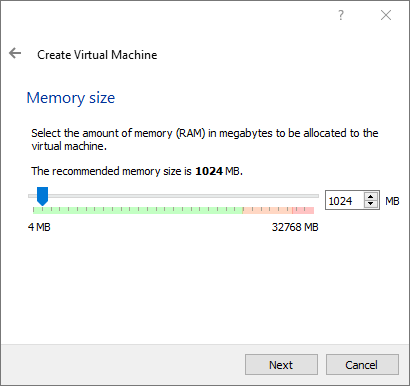
Warning: setting the slider in the red zone will make your virtual machine use more memory than your computer can safely provide and may lead to slowing down, instability and crashes.
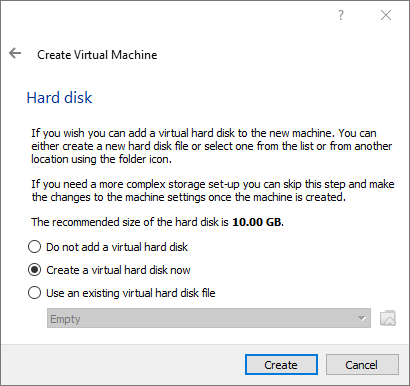
Step 4. On the “Hard disk” screen, make sure “Create a virtual hard disk now” is selected.
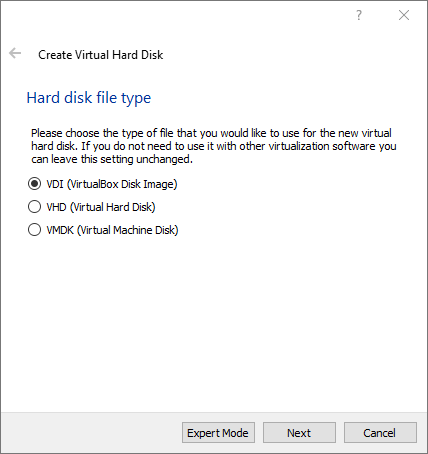
Step 5. On the “Hard disk file type” screen, select VDI.
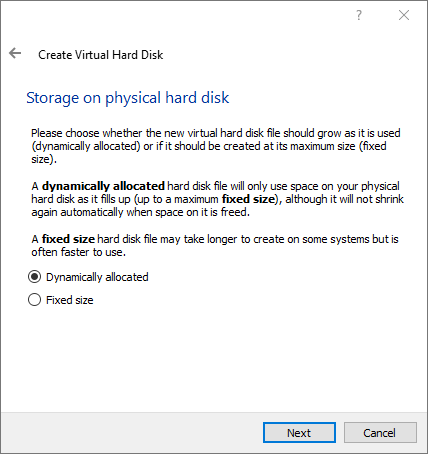
Step 6. Select “Dynamically allocated” in “Storage on physical hard disk”.
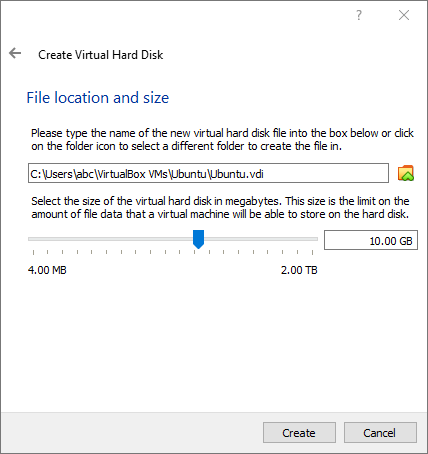
Step 7. In “File allocation and size”,
- Note or change the location of the virtual machine system files
- Make sure to allocate at least 10 GB of disk storage for the virtual machine; more is better, but around 15 GB should be enough for most simple use cases
- Click “Create” if you are ready to proceed.
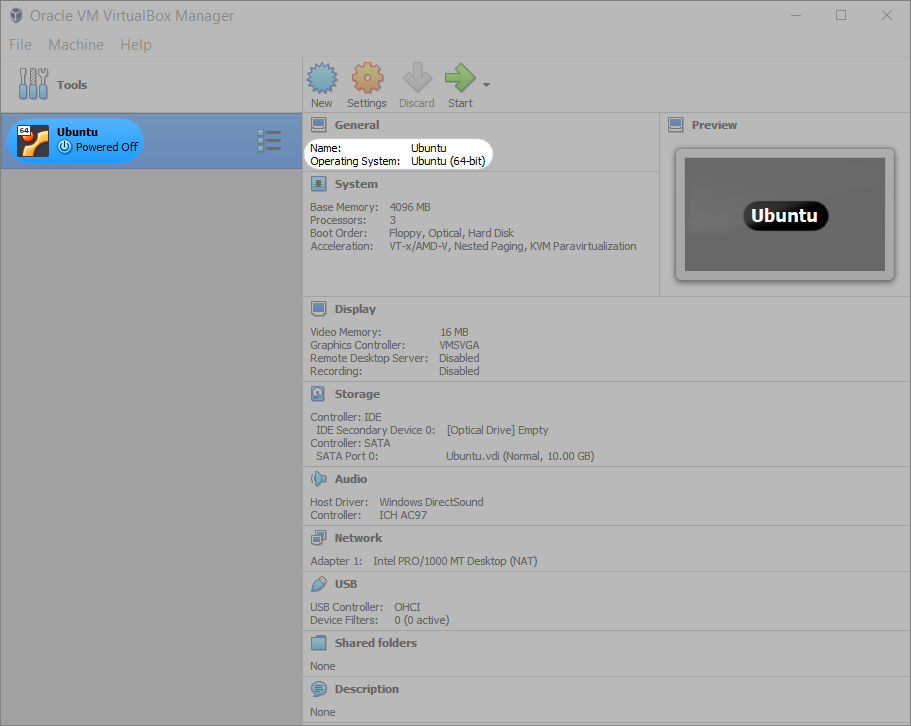
After you click “Create, the dialog window will close and you will see the main window of VirtualBox with the newly created Ubuntu virtual machine in it, as shown below.
