Table of contents
Step 1: Download the Redistributable
Head over to virtualbox.org and click the Download button.
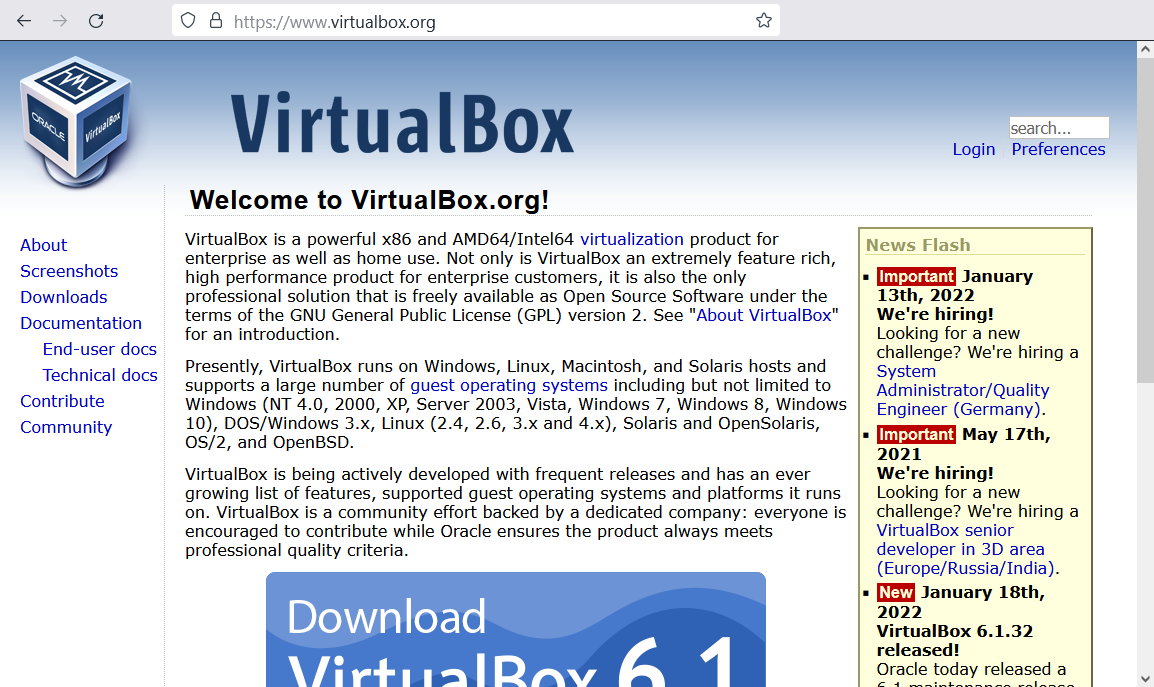
The button is hard to miss, but alternatively, you can also click the Downloads navigation link on the left.
Note: The End-user docs link in the navigation may prove useful as you perfect your virtualization skills and tackle more complex tasks.
The Downloads page offers versions of VirtualBox for different host operating systems. Since your computer runs macOS, click the link that says “OS X hosts”.
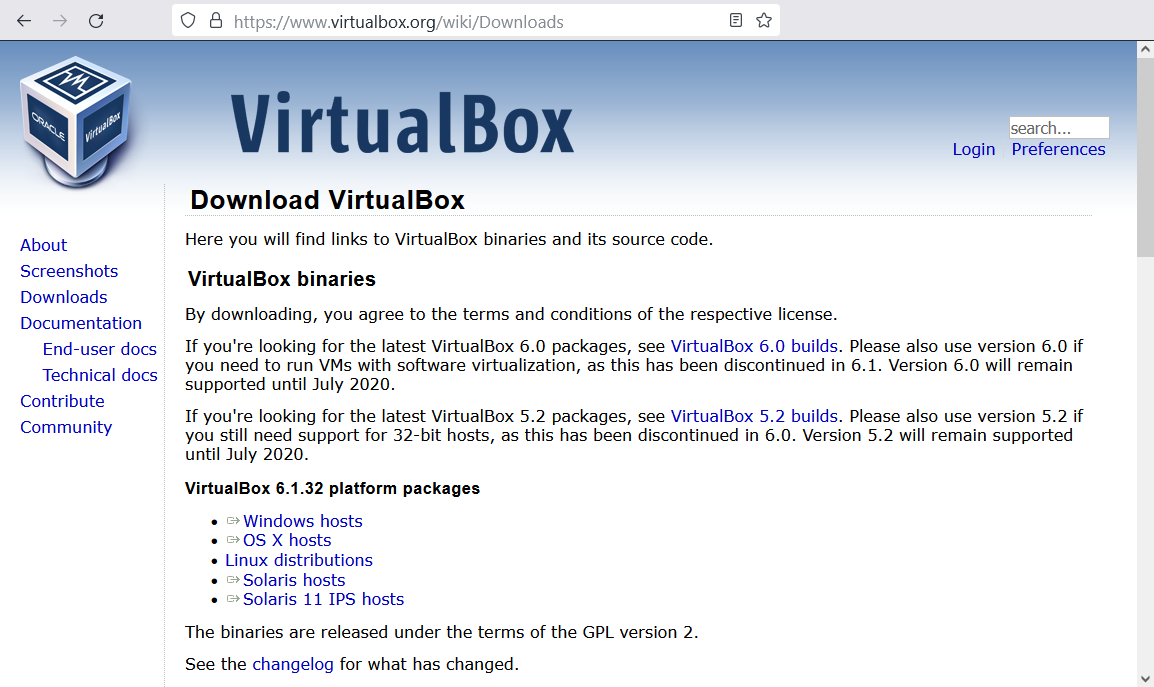
Warning: It is a common mistake for beginners to download the wrong OS version of VirtualBox. Remember, it does not matter which guest OS you want to run. What matters is the operating system that is currently installed and running on your computer.
Note: The Downloads page links to other useful resources, such as the Extension Pack (more on it later) or the full VirtualBox manual.
Once you click the “OS X hosts” link, the browser should start downloading a disk image automatically.
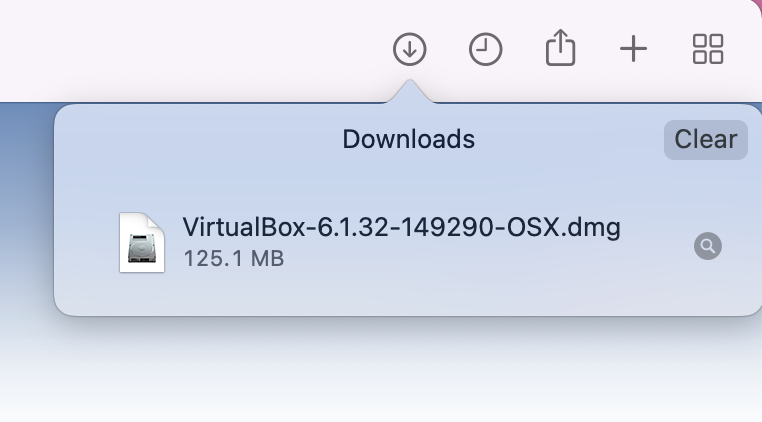
Depending on the settings of your browser, the downloaded file may be saved in the “Downloads” folder of your user. We recommend moving it to a location that you will remember, so that accessing or deleting the file is easier in the future.
Step 2: Install VirtualBox
Although you may be used to installing programs on your computer, installation of VirtualBox involves steps that you may be unfamiliar with. Before you begin, please take at least a quick look at this section to learn what to expect.
Head to your download file’s location and double-click on the disk image to open it. It should prompt the following window.
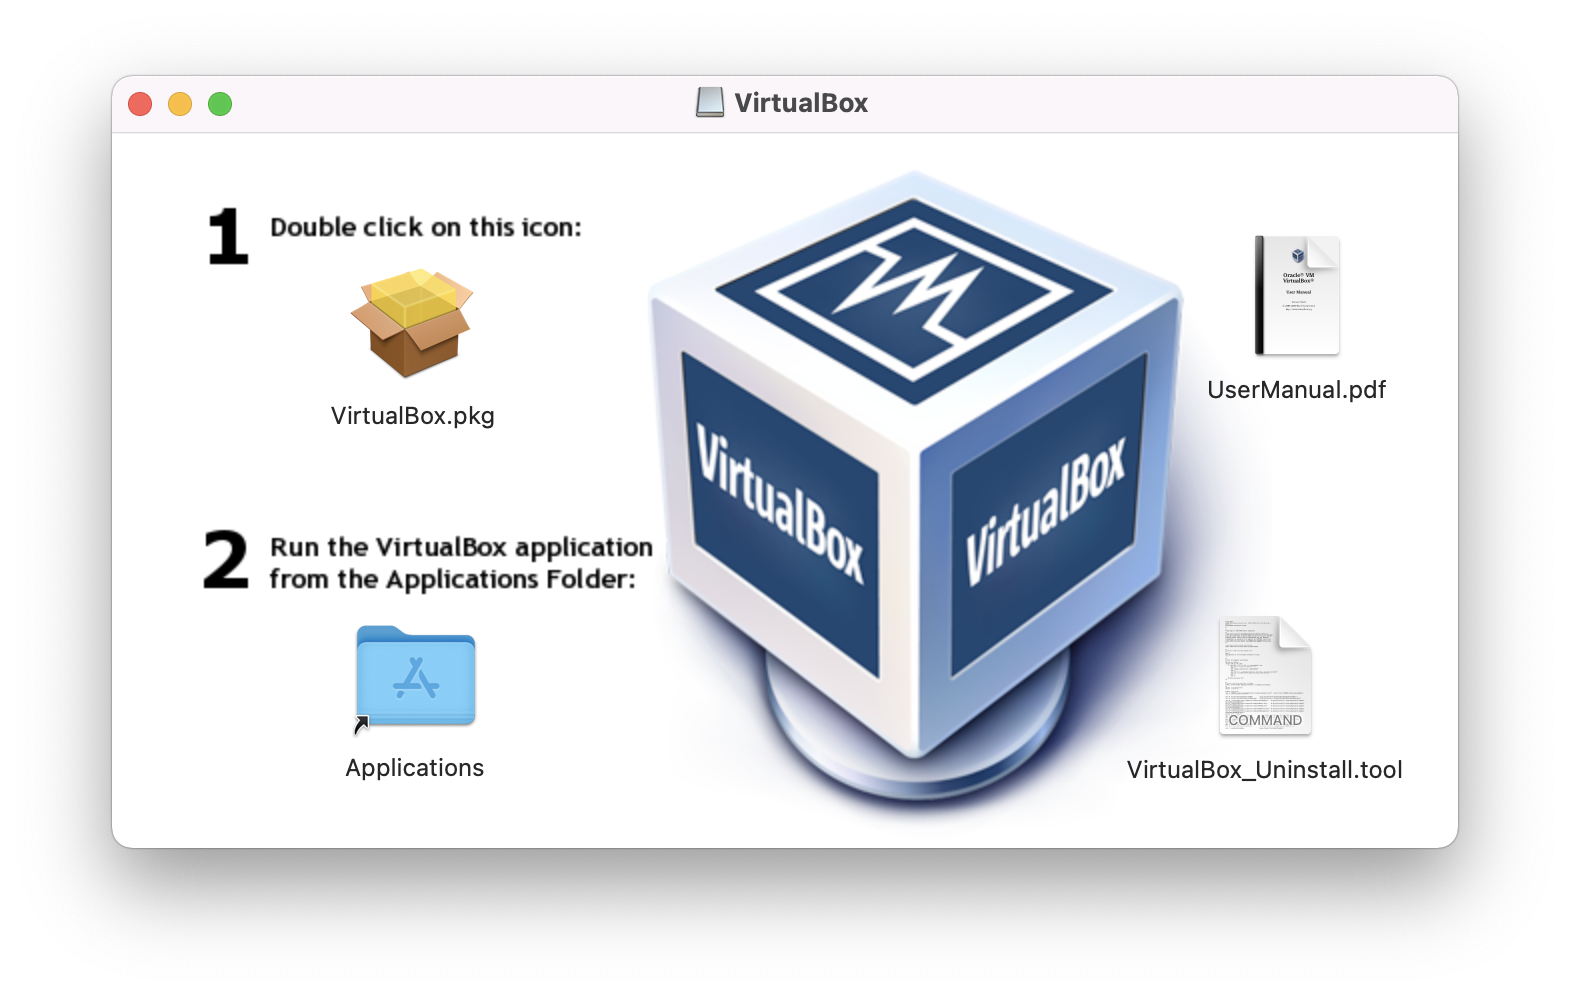
First, double-click on the VirtualBox.pkg icon. The installation should start by asking for permission to check its compatibility. Click “Allow” to start the process.
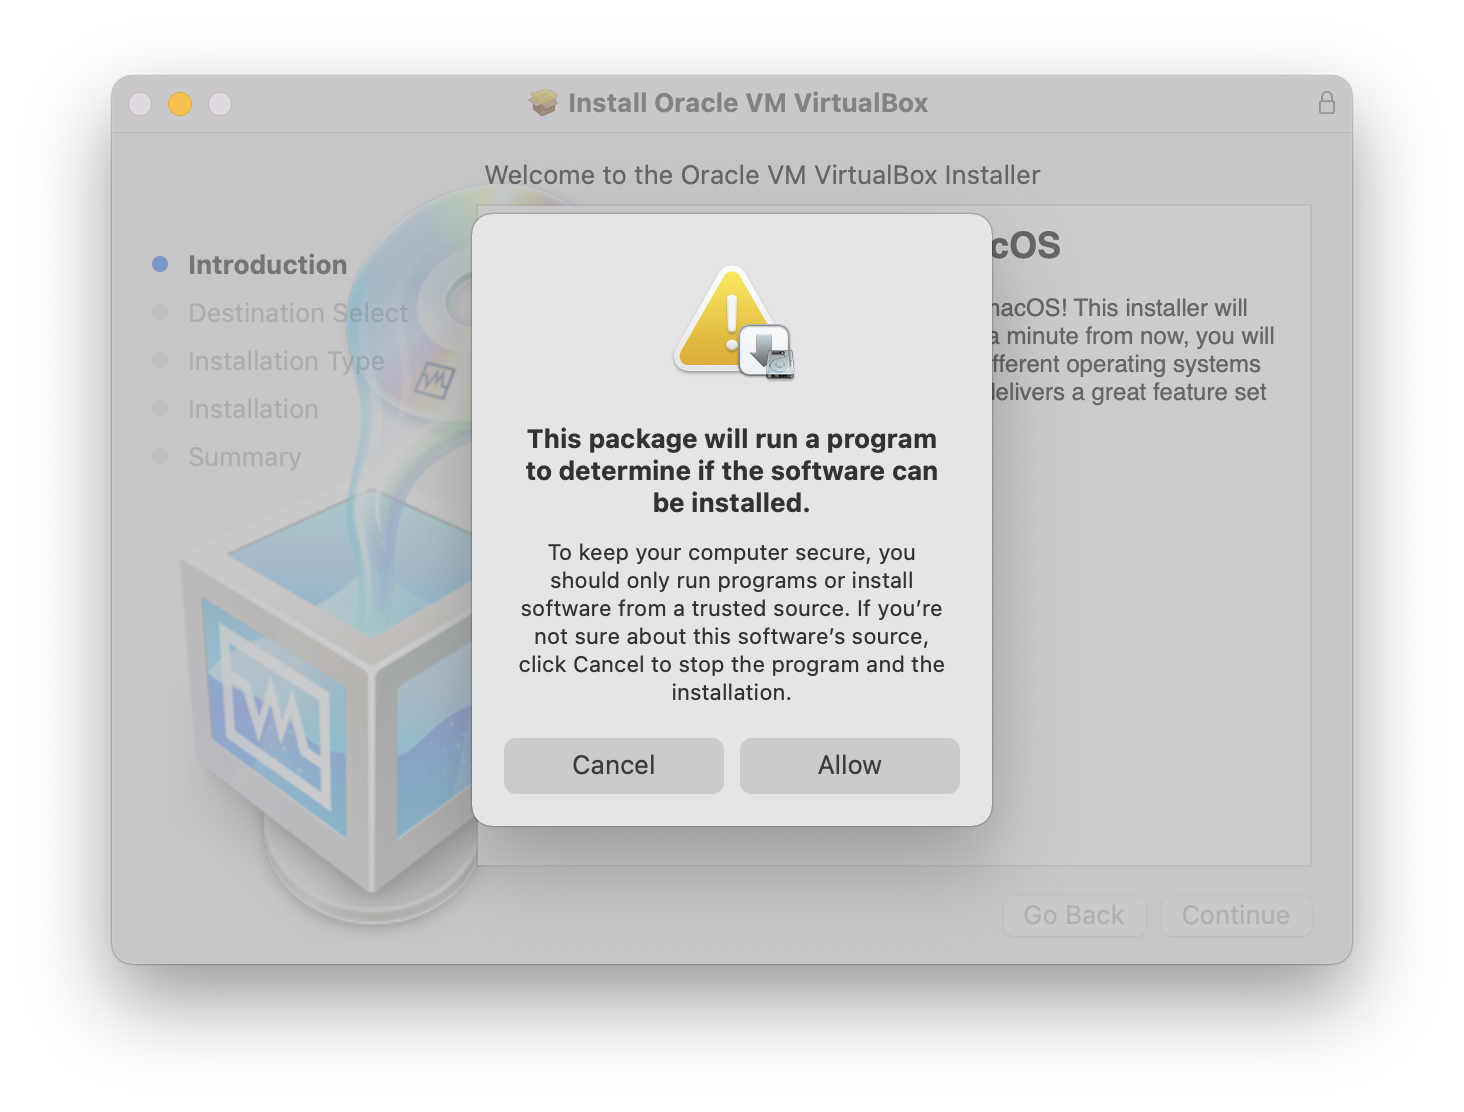
Note: The current version of VirtualBox is not compatible with M1 Macs/MacBooks.
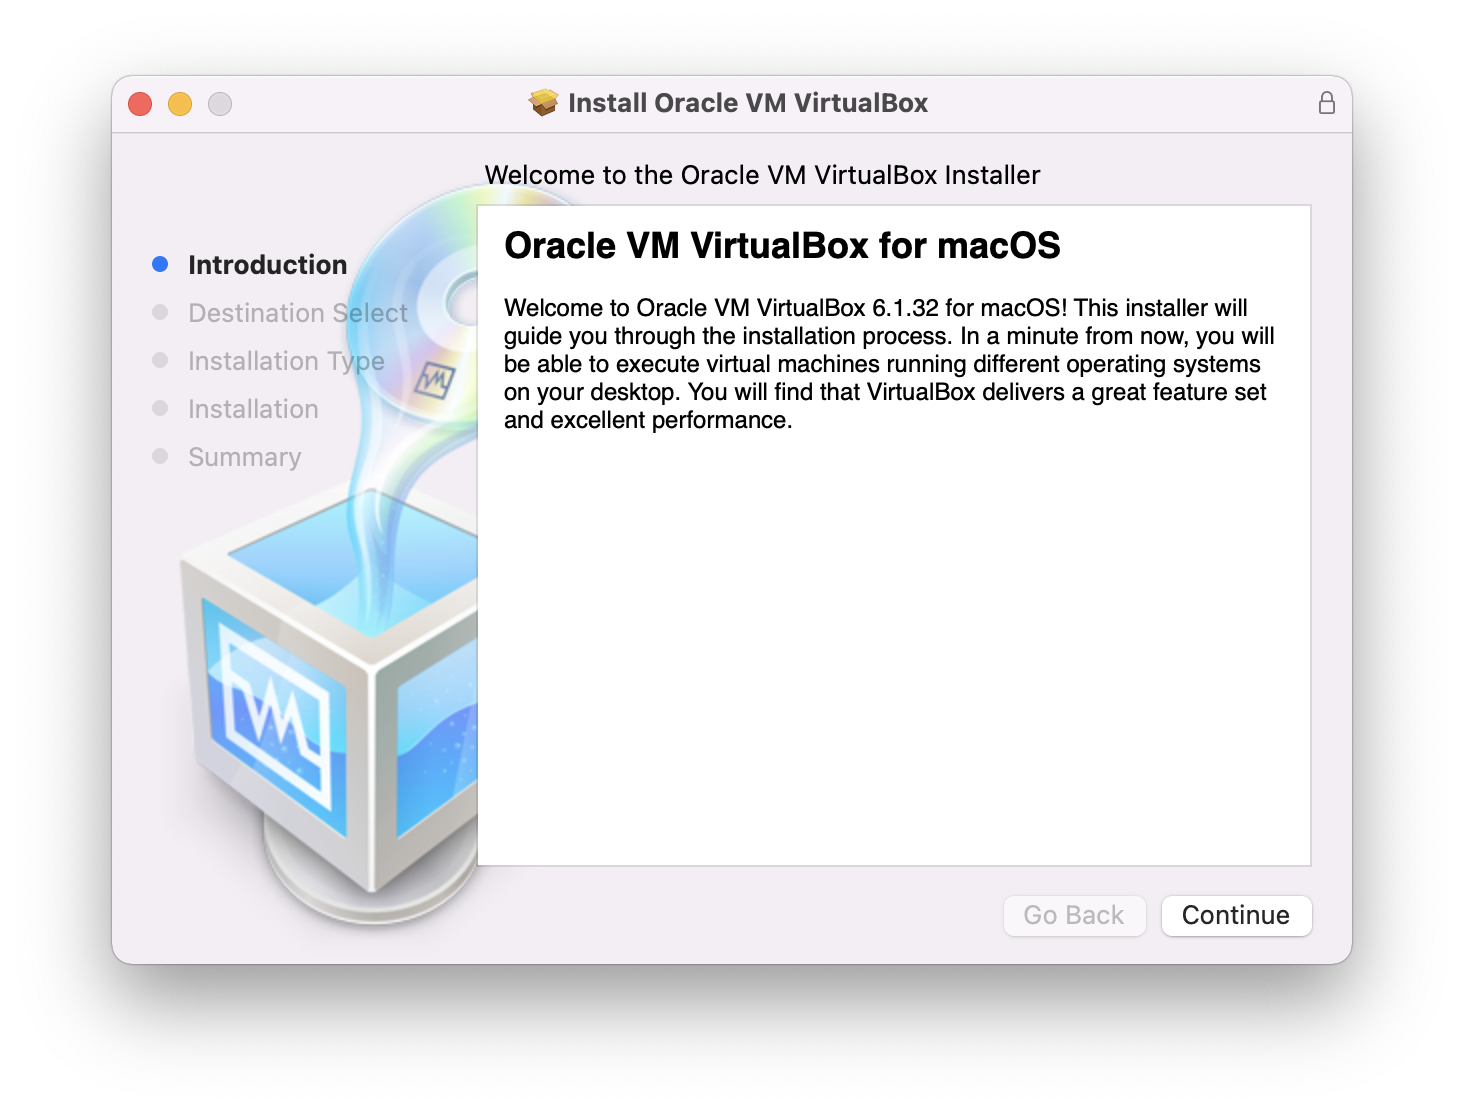
If the check is successful, you should see “Introduction”. Click “Continue”.
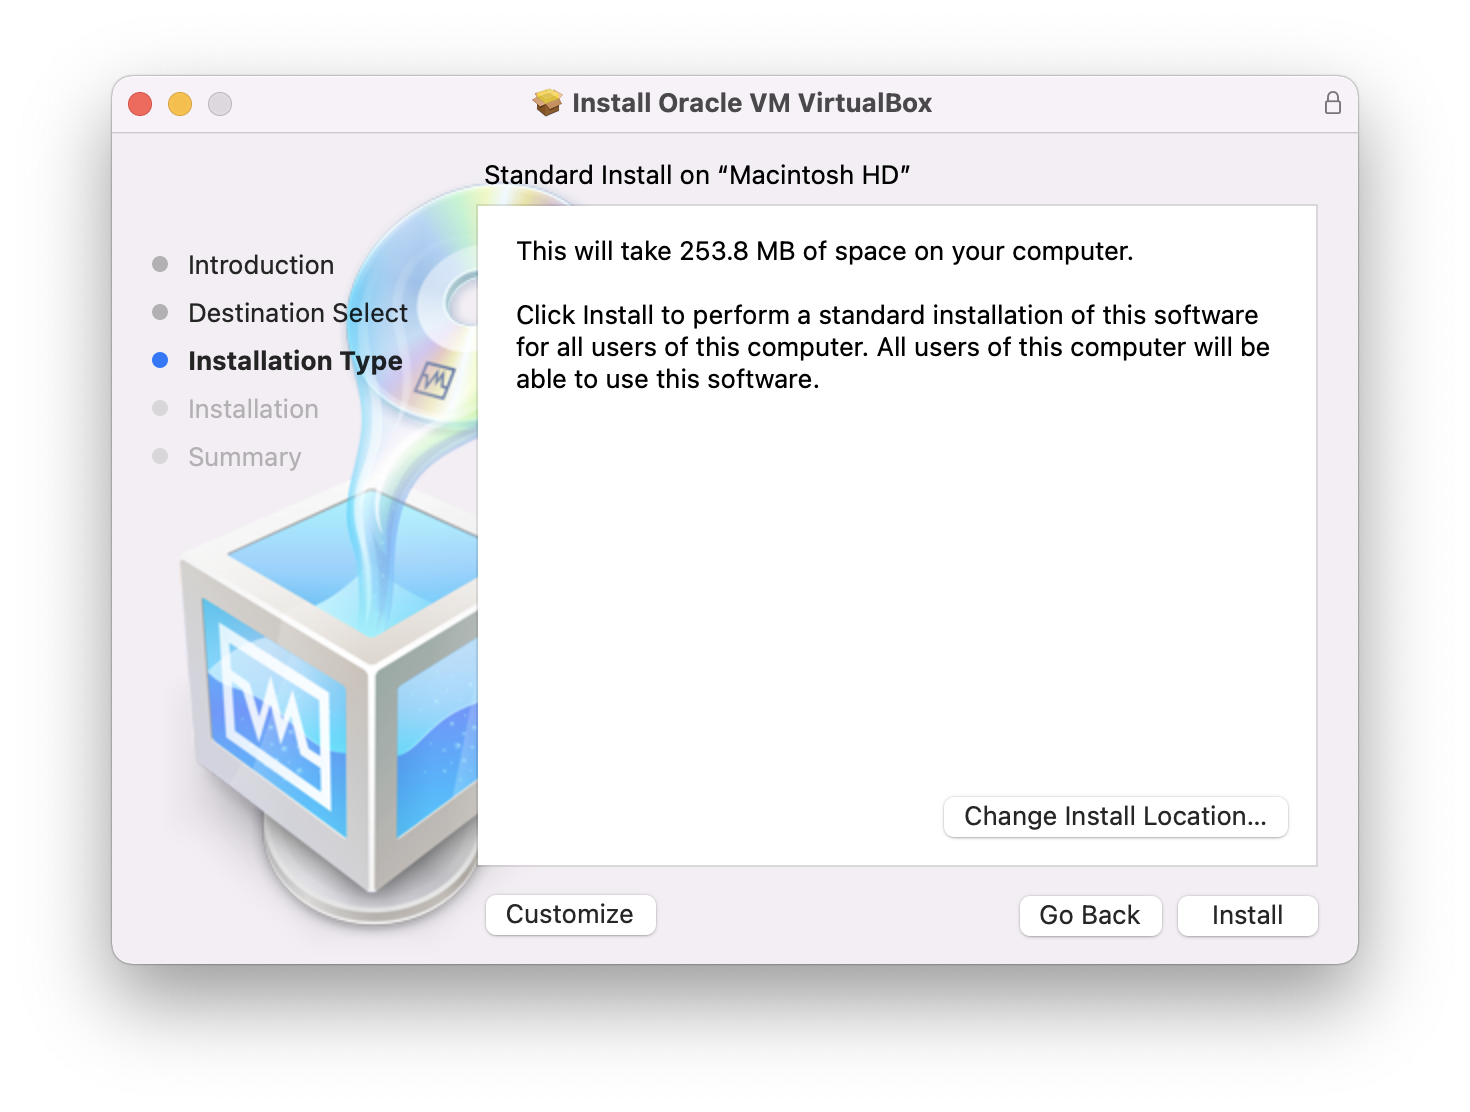
It should take you to the “Installation Type” step. Your installation type will be defaulted to “Standard Install”. By clicking on “Customize”, you can change it to “Custom Install”. For now, you can ignore this option and continue with the standard installation. You can also choose which disk to install VirtualBox on by clicking “Change Install Location”. When you are happy with the settings, click “Install” to continue.
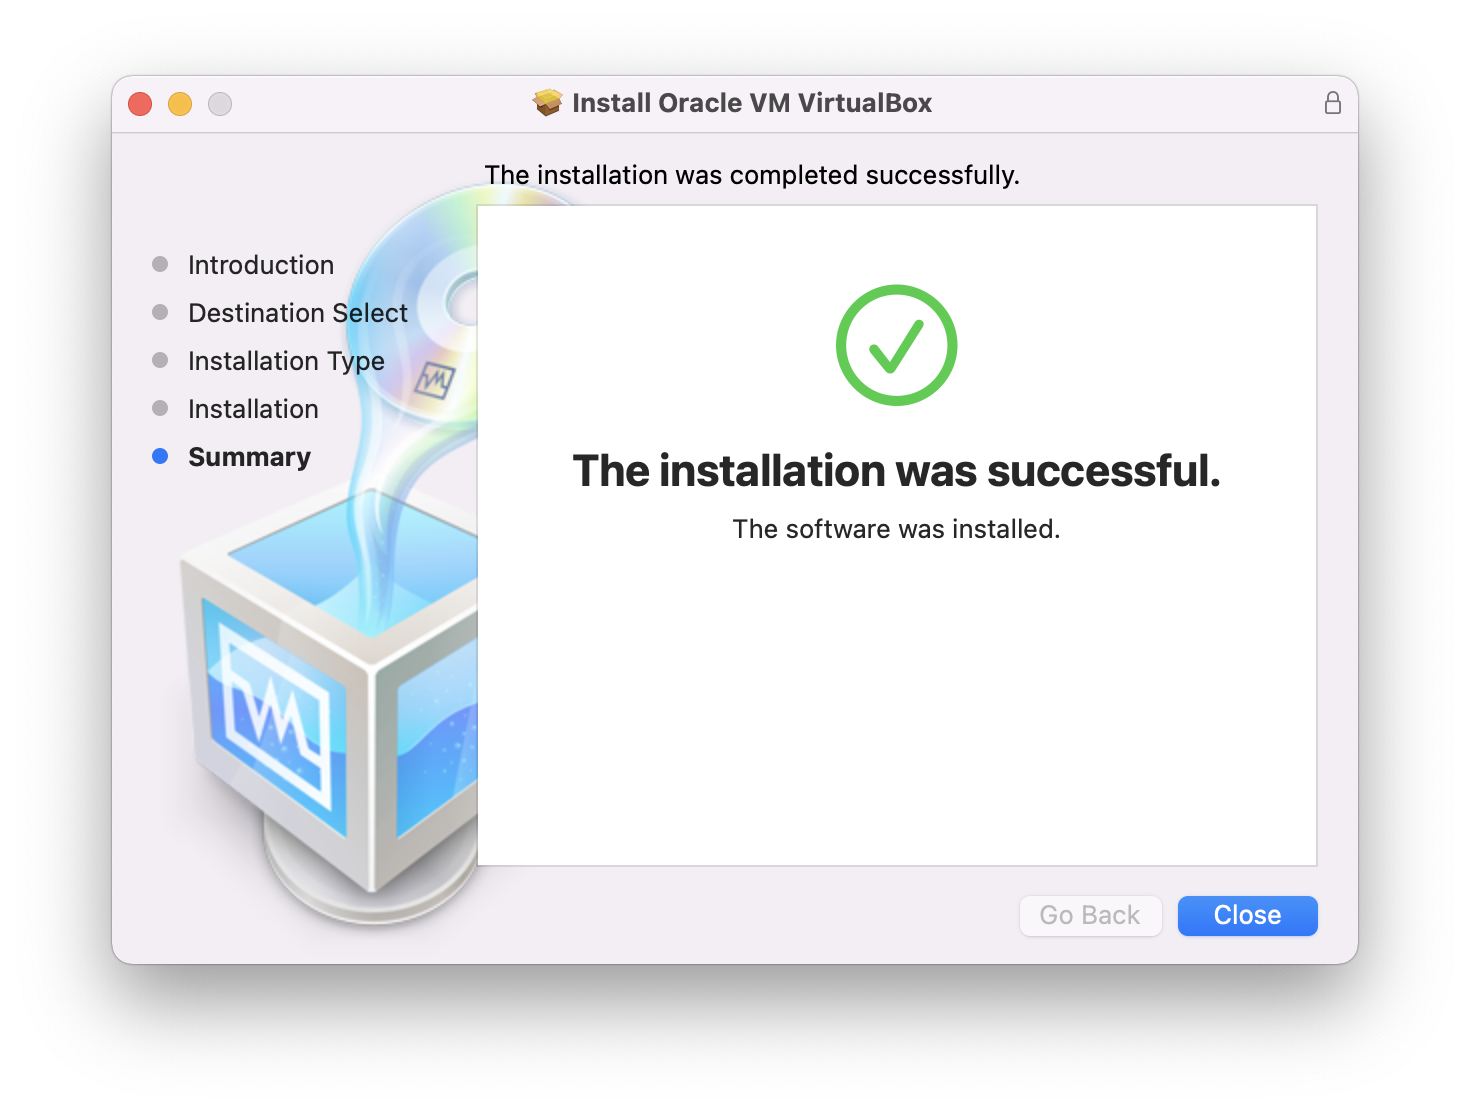
The program should start installing VirtualBox on your computer. This process should take around a few seconds to a minute. If VirtualBox is successfully installed, it should show the following screen.
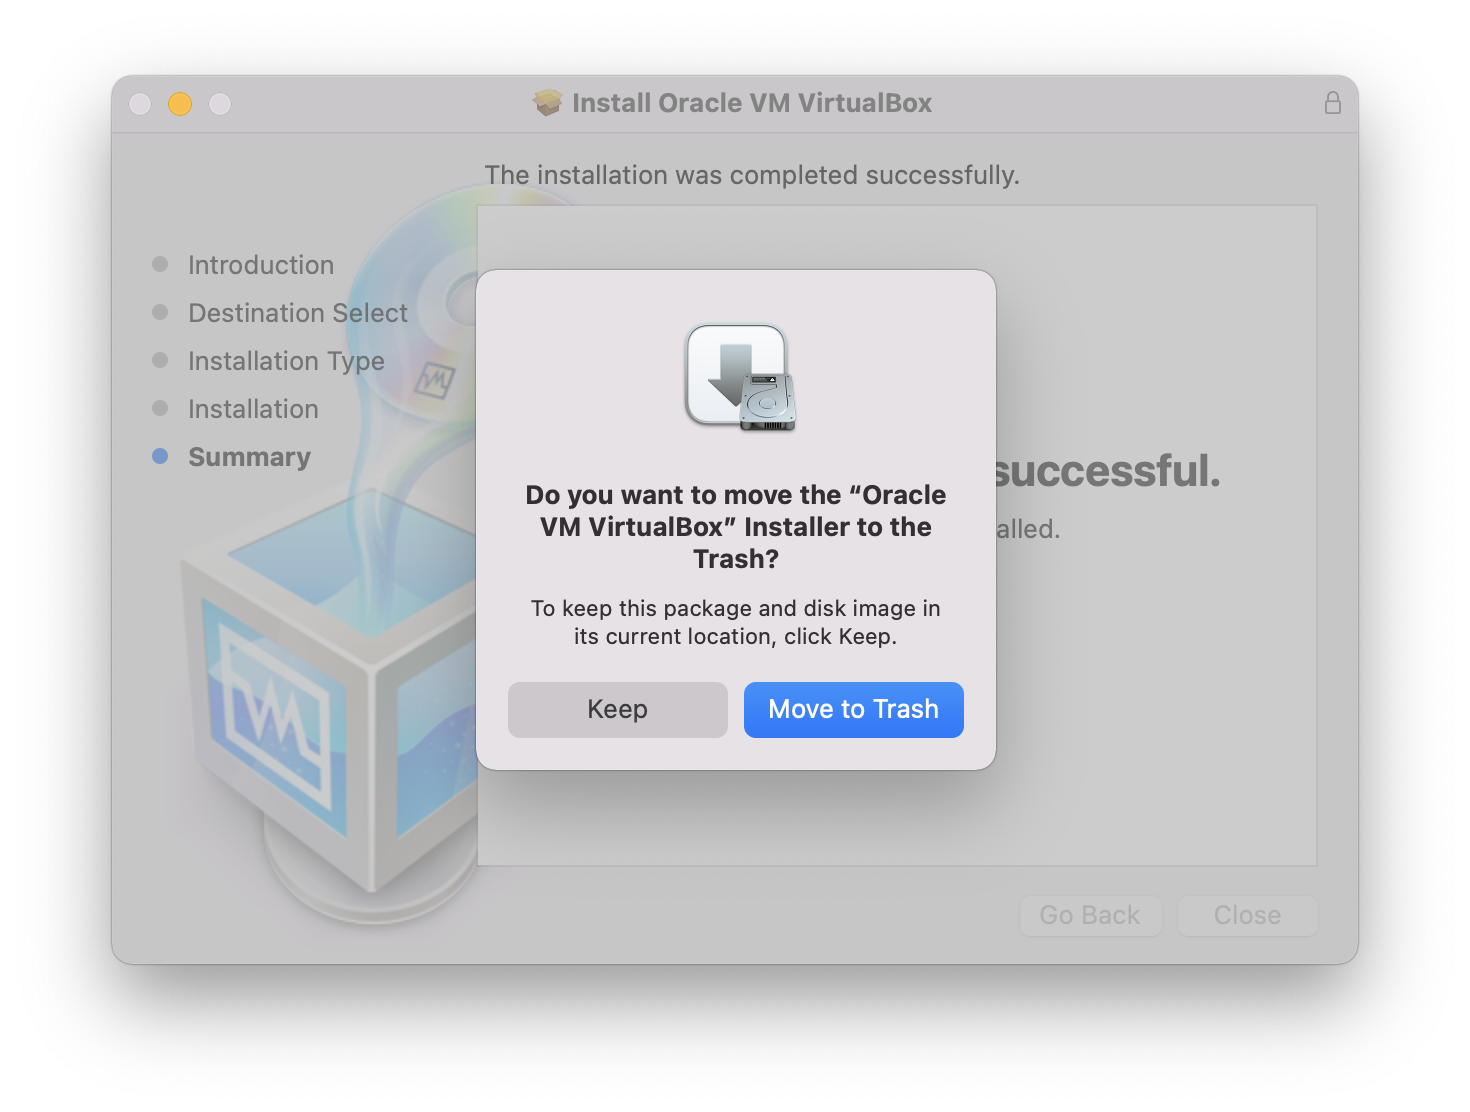
When you click “Close”, it should prompt you with the following message. You can choose to delete it to free your disk space, or keep it for future use. This choice does not affect your installed VirtualBox application.
Congratulations! Now you are ready to create a virtual machine in VirtualBox.